2. Enter 360 View.
3. Click on the EyeSpyPLAN button at the top of the screen.

 5. A new window will open. In the left hand column you will see a selection of icons. Click the 2D icon.
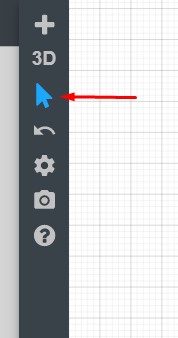
Please note, if this has already been selected this icon will appear as a cursor. Please see this below.
The Dimensions field is the total square footage for each room and will be automatically generated using the measurements entered in the Width and Height fields above. If you wish to input a custom square footage for the room, you can do so here and this will be reflected regardless of the Width and Height fields.

7. Once you've inputted your desired dimensions, click the blue Save button.
8. Repeat for any other rooms you wish to alter.
9. Once completed, click the red Close icon in the top right hand corner of this window.
10. Click the EyeSpyPLAN button at the top of the screen to exit EyeSpyPLAN.
11. Click the red Publish button to republish your tour and save your changes.
Was this article helpful?
That’s Great!
Thank you for your feedback
Sorry! We couldn't be helpful
Thank you for your feedback
Feedback sent
We appreciate your effort and will try to fix the article